LeLutka Head HUD – How to Use it!


Happy Birthday Whimsy Winx
So on our whirl wind birthday tour, we hit a lot of stores and events, while Whimsy played busdriver. We often do that, delegate who has to be the one that does all the tping of our little band of shoppers, usually it is me because I tend to lack patience waiting, and usually find that Whimsy got distracted on her way from the website with the slurls, to my IM box.
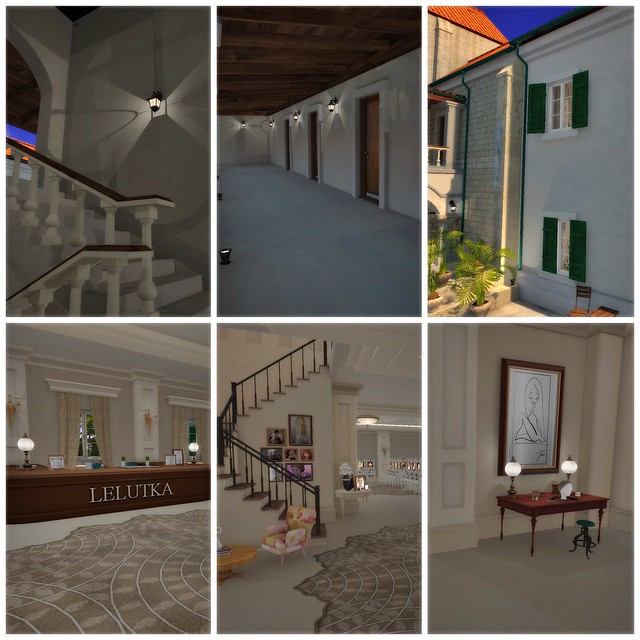
It has been a great week so far, with the release of the LeLutka Mesh Heads, and that incredible New build. If you haven’t been over there yet and explored it all, you are really missing out.
I have been having a great time with the LeLutka heads, especially playing with the head hud. Not only does it control the main features of wearing your skin, but it also does a lot more, you just have to know how to use it, and it is very intuitive. All shimmers and Gloss effects are only visible when using the Advanced Lighting Model option in Preferences (Ctrl + P) then your graphics tab. You can choose to turn it on and use the None option on the dropdown beneath it to not actually have your shadows in play, just to see the glossy looks without it being too hard to render everything else.
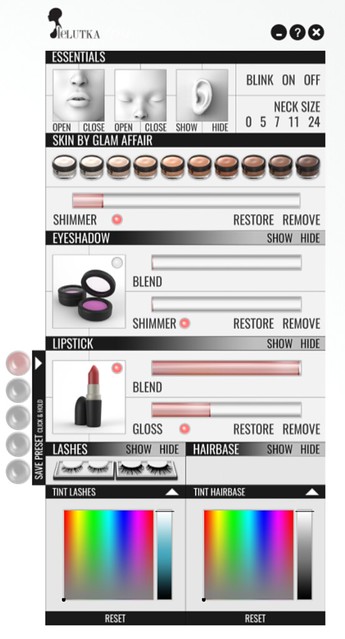
Section 1
On the top of the hud you have the controls for the head itself… pretty simple really, mouth closed or open, eyes the same, ears hiding or showing – which is either great for wearing other ears, such as the brilliant ones from Mandala, or turning them off because they poke through a hairstyle you are wearing. Then you have the blink on/off options, so that you don’t blink through a photo, or just because you want to wear someone elses mesh lashes and as you cannot get those to blink with the head, stopping the blink makes it work perfectly.
Then you have the necksize, so 0 works great with the Maitreya body, as do the other sizes, as I do believe they are all the same, or you use 5 for the Slink physique body, as both are a great fit for the head. They could work for the others out there, but those two are the ones that they know do work, and as I am wearing the Slink in all my posts this past week, you know that is true.
Section 2
Next section is the skin tones, and the shimmer (specular/normals) for the head. So the ten skin tones used are the ones that Glam Affair makes, perfect fit with the Maitreya body, as they come with the same tones in their HUD and you can buy the appliers for the Slink body. So once you have your skin tone ready, and the face of course – there is a different face for each of the heads, you can actually mix and match the head huds, or appliers. Then you have a shimmer slider, a slider which is so cool just being slidable, which increases or decreases the shimmer on your skin, which is like a lovely shine effect. This is the default specular maps for the head, which may be replaced with other shimmer effects once other creators start releasing huds. You can remove the effect with the Remove button, and Restore with the Restore button – Restore will bring you back to the original default, if you have used something else.
Section 3
Eyeshadows area…right now there aren’t any separate eyeshadow appliers, other than the ones included with the head itself, but they are wonderful. You use the Show or Hide buttons, they do the function they are named for. Then you have the Blend and Shimmer sliders. Blend is my all time favourite slider, on both this section and the next. The Blend slider controls how much of the texture is seen…so if you have a really strong Green eyeshadow for instance, that is like super heavy for night time looks, you can use the Blend slider, and decrease its opacity and create your own early evening, or day time shadow look…BRILLIANT! Then you have Shimmer, again like the above it has its own default that you can Restore or Remove, and when you use it you will see the increase in the shine to the eye area. You can also choose to not have the shimmer on by sliding the slider all the way down, but keeping the Blend all the way up, different looks whatever way you use it.
Take Note: Some skin appliers will have makeup included on the skin applier itself, you cannot control those layers with the blend or shimmer/gloss sliders.
Section 4
Lashes, two types pretty straight forward, you just toggle between them. You can also turn them off, to wear other lashes you may be more in love with…but remember to turn off your blink, or you will look a little odd. Then below that you will see a Tint Lashes option, an arrow that opens a panel that has a colour picker you can go to town with. Create so many different colours you like.
To the right of that you have the hairbase option. Included with the head package is a hairbase hud. Once you wear that and choose the hairbase you want to wear, you may need to use the SHOW button on the Head Hud. You can turn it off with the Hide button, and then below again a drop down colour picker, and you can tint the hairbase to match other hair you have, or possibly rock out some great colours and match your tinted lashes to them.
Section 5
Now you have gotten together your look of awesomeness, and you are about to be tpd somewhere where you have to look completely different…do not despair, the 5 save preset slots are here. On the left of the hud, you have an arrow to click and out pops 5 shiny buttons. Got your whole look together? skin base, eyeshadow, lipstick and shimmers and glosses all where you want them…then you tinted your lashes and hair base and you look fabulous! Now left click and hold down on one of the presets and it is saved for when you want that look again. You could make up day and night looks, and just toggle between them. Run out of spaces you can either save over them by holding down on them again, and a drop down will ask if you want to save over it, or you can make a copy of the hud and save another 5 on that.
If any of this confuses you, you can click on the ? button at the top of the hud and get zoomed on over to the website where there is a FAQ.
For those wanting to know, the make up appliers kits will be available at LeLutka from the 6th of April, and the handpicked skin creators will be releasing a little while after that.
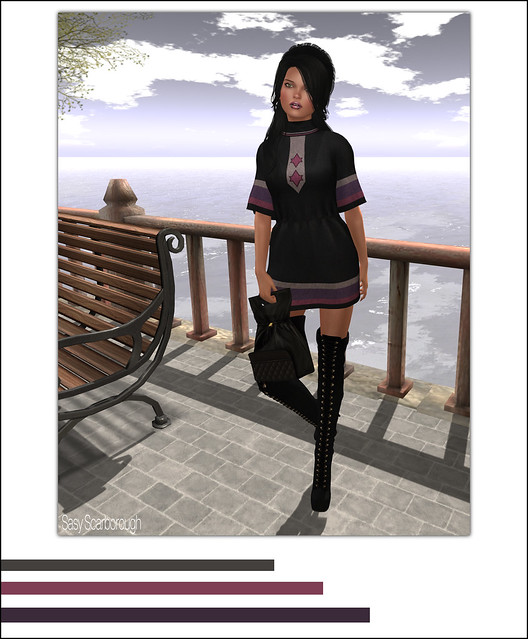
So I was out shopping as I said, and the lighting and everything over at Kustom9 looked great, so I put on my VR Studio Library, already packed with my Marukin poses from C88, and posed away. I love that thing, that and the VR Studio and Hud, are my everything.
Equipment Used:
VR Studio 3.0 and HUD and Library for location shoots–VR Foundry Mainstore,VR Foundry @ The Deck
Props, Furniture, Build :
Location –
Poses by:
Marukin Poses @ Collabor88
Eyes:
Ellis – LeLutka
Lashes:
Natural Curl Sculpted Lashes – LeLutka
Skin Worn:
Aria Head – Lelutka
Aria Skin Appliers Clean – Glam Affair @ LeLutka
Candy Lips applier Dark 03 – Glam Affair @ LeLutka
Avatar Enhanced Mesh Hands & Physique Body – SLink
Avatar Enhanced Skin Appliers : Glam Affair
Avatar Enhanced Nail Appliers : set 57 – Flair
Hair:
Selina – enVogue
Clothes:
Mirage Tunic – Polka – Celoe
Shoes :
Smooth Suede Thigh High – Lethal
Accessories :
Quilted Handbag – Lethal
Piercings (modified) – Punch